
Hey friends, Lea here, it’s been a while (five months since I revealed my living room update in fact) and I don’t know about you, but this year is flying by. If you follow me on Instagram you may know I live in the Midwest, specifically Minnesota so we cherish our summers here because of the long winters. That said, I typically push all our interior projects to the back burner until winter. BUT I had recently had a partnership that clearly motivated me to work on a corner of our primary bathroom over a weekend. Gotta love a quick weekend DIY, right?
Here is what I was working with:

As you can see it is seriously lacking any real functionality and let’s be honest, it’s hardly aesthetically pleasing on the eye.
Our primary bathroom is small and this corner next to the shower is sort of dead space, to squeeze in any type of cabinet would cause it to be too claustrophobic and shelving would feel chaotic here. I had at times thought about a recessed niche, but this is an outside wall and again, Minnesota winter life is real.
I had the idea (similar to something I currently have in our laundry/mudroom) of adding peg rails to our bathroom to hang up some towels, so I started pinning away for ideas and inspiration.
I also knew we didn’t have the time or budget to do a full bathroom makeover. So… a quick weekend DIY was the perfect solution.
For the peg rail wall I envisioned, I just needed a few supplies:
- Beadboard
- Trim
- Pre-made Peg Rail
- Liquid Nails
- Finishing Nails
- Nail Setter
- Clamps
- Wood Filler
- Caulk
- Paint – we used Snowbound by Sherwin Williams
- Painters Tape
Step 1:

First, I measured and installed all the pre-made peg rails. Since these were pre-made the ends were rounded a bit so I made cuts to slice off the ends to make for a flush and smooth connection between them. I also had to remove a couple of pegs for the corner because of the 90-degree angle. I then filled in any screw holes and peg holes with wood filler.
Step 2:

After I installed the rails, I felt like this corner needed something extra so I decided to add beadboard paneling below it. The beadboard would be thin enough that we didn’t have to remove the existing baseboards and could install the sheets right above it. For this, I called my favorite brother-in-law over again to help me.
He applied FrogTape to the cut line on the beadboard before cutting to make sure the beadboard didn’t splinter.
We attached it to the wall with some Liquid Nails and finishing nails. We don’t own a nail gun, so we manually nailed them, used a nail sinker tool to tap them in a bit, and then filled again with filler.
Step 3:


To cap it all off I added a small piece of inexpensive trim wood to the top of the peg rail as a little “shelf”. I just used Liquid Nails and clamps to attach it. My brother-in-law caulked all the seams where the beadboard meets the peg rail and the corners and edges.
Step 4:

The next day he came back to paint. I had already taped all the existing trim off and I taped the pegs too because I decided to keep those the natural wood color for a little contrast.
I choose to keep the paint the same color as what was already in the bathroom because I wasn’t ready to pick out a paint color. I’ll save that for the day we are actually ready for the full makeover. Also, I am debating adding some wallpaper in here. So again keeping the paint minimal was just easy to process for me.


Voilà! Finished!

Towel (similar) | Basket (similar)

Antique Bentwood Chair (similar) | Hanging Basket (similar) | Shower Curtain (similar)


Le Labo Candle | Gold Frame (similar) | Wood Frame (similar) | Figure Drawing (similar)
Easy enough right? But I wasn’t done with this bathroom just yet. For a little styling update, I decided to make a little window curtain (to be fully transparent we had been living with one of those temporary paper shades for the past 5 years) and it was time. I ordered the fabric off of Etsy and using a no-sew technique it took me about 20 minutes in all.
DIY Curtain

Here’s what you’ll need:
- Tension Rod
- Curtain Rings
- Linen Fabric
- No-sew Iron Tape
- Scissors
- Iron

I used this little tension rod and rings from Target and installed it in the window and then measured off the area to get the width of the fabric and length after the clip rings. I cut the fabric to measure leaving about another foot to allow for my “hems” and so when the curtain was closed it wouldn’t be flat on the window and there would be some folds.
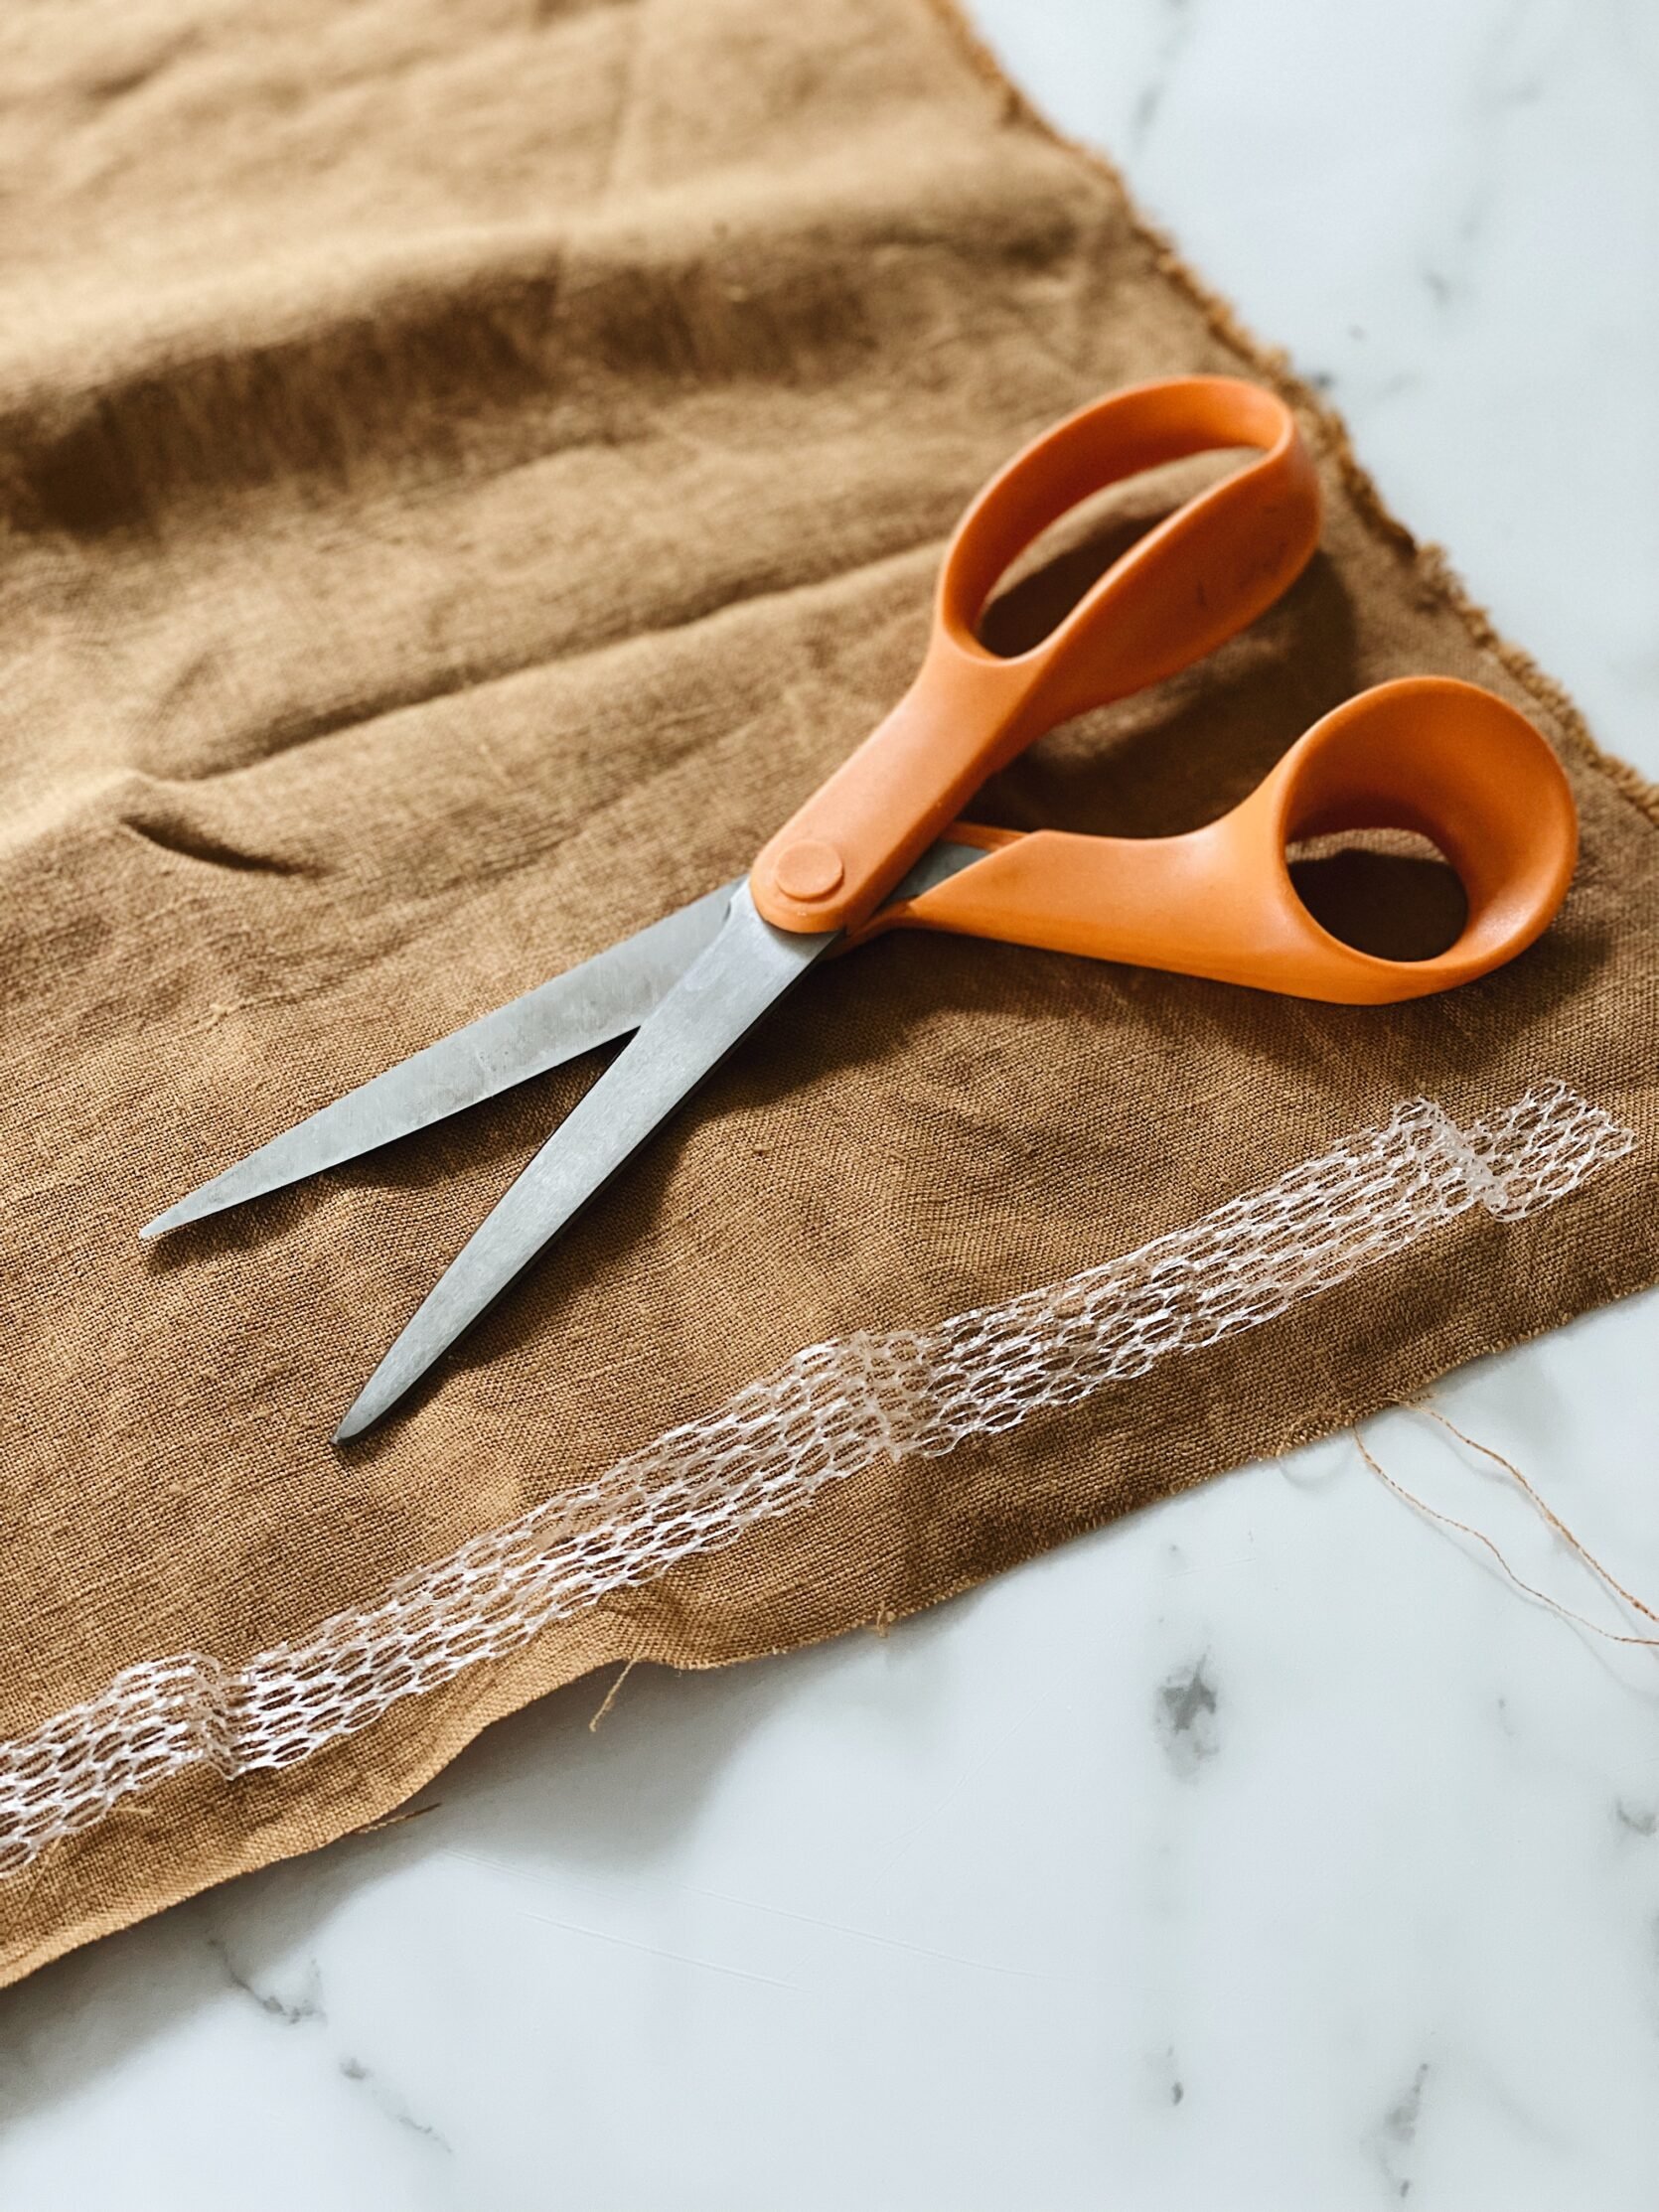

Using no-sew iron tape I then created my hems for a more finished look. Installed my little curtain and easy peasy! I only purchased one pack of clip rings (7 rings) but I am going to pick up another pack because I feel I need 2-3 more rings to be just right. For reference, my window is 22” on the inside mount.


Head Vase | Side Table (similar)
That’s it! These are both easy DIY’s that anyone can do in a weekend (if I can do it, you can too).


Towel (similar) | Basket (similar)
Until next time!
xoxo Lea
The post Two Simple (But VERY PRETTY) Bathroom DIYs That Lea Johnson Executed In One Weekend appeared first on Emily Henderson.
from Emily Henderson https://stylebyemilyhenderson.com/blog/diy-bathroom-storage-ideas


No comments:
Post a Comment